Do you have bare walls that need some character? I used to spend hours looking for the perfect frame, only to find mass-produced options that lacked soul. But I found a better way. I learned that making my own vintage frames lets me create one-of-a-kind pieces that fit my style exactly. The good news? You …

Do you have bare walls that need some character? I used to spend hours looking for the perfect frame, only to find mass-produced options that lacked soul.
But I found a better way.
I learned that making my own vintage frames lets me create one-of-a-kind pieces that fit my style exactly. The good news? You don’t need fancy tools or years of woodworking practice.
When friends visit my home, they often ask where I bought my frames. Their faces light up when I tell them I made them myself. The joy of creating something with your hands is truly special.
Ready to try? In this guide, I’ll show you step-by-step how to craft a vintage frame that will become a treasured part of your home.
How Long Does It Take to Paint a Picture Frame Vintage Style?
Painting a frame in vintage style usually takes me about 2-3 hours of active work.
But I need to factor in drying time too. Each coat needs at least 2-4 hours to dry properly, sometimes up to 24 hours.
The whole process typically spans 1-2 days, depending on the technique I use. Simple distressing is quick, while layered effects take longer. I like to make this a weekend project so I don’t need to rush.
What about your experience level? If this is your first time trying vintage painting techniques, add some extra time to practice on scrap wood first. This small investment in practice time will give you much better results on your actual frame.
What Materials Are Needed for Painting a Picture Frame?
| Tools | Materials |
|---|---|
| Sandpaper (medium & fine grit) | Wooden picture frame |
| Small paintbrushes | Wood filler (if needed) |
| Chip brush | Acrylic or chalk paint (base color) |
| Soft lint-free cloth | Antiquing wax or glaze |
| Painter’s tape | Metallic gold or silver paint (optional) |
| Craft knife | Dark wax or diluted brown/black paint |
| Sponge or rag | Clear finishing sealer |
| Hairdryer (optional) | Tack cloth |
How to Paint a Picture Frame to Make It Look Vintage: Easy Instructions
Step 1: Prepare the Frame

Start by cleaning the frame with a damp cloth to remove dust and debris. If it has a glossy or smooth finish, lightly sand it with medium-grit sandpaper to create a surface that paint can adhere to.
Wipe it down with a tack cloth to remove any sanding residue.
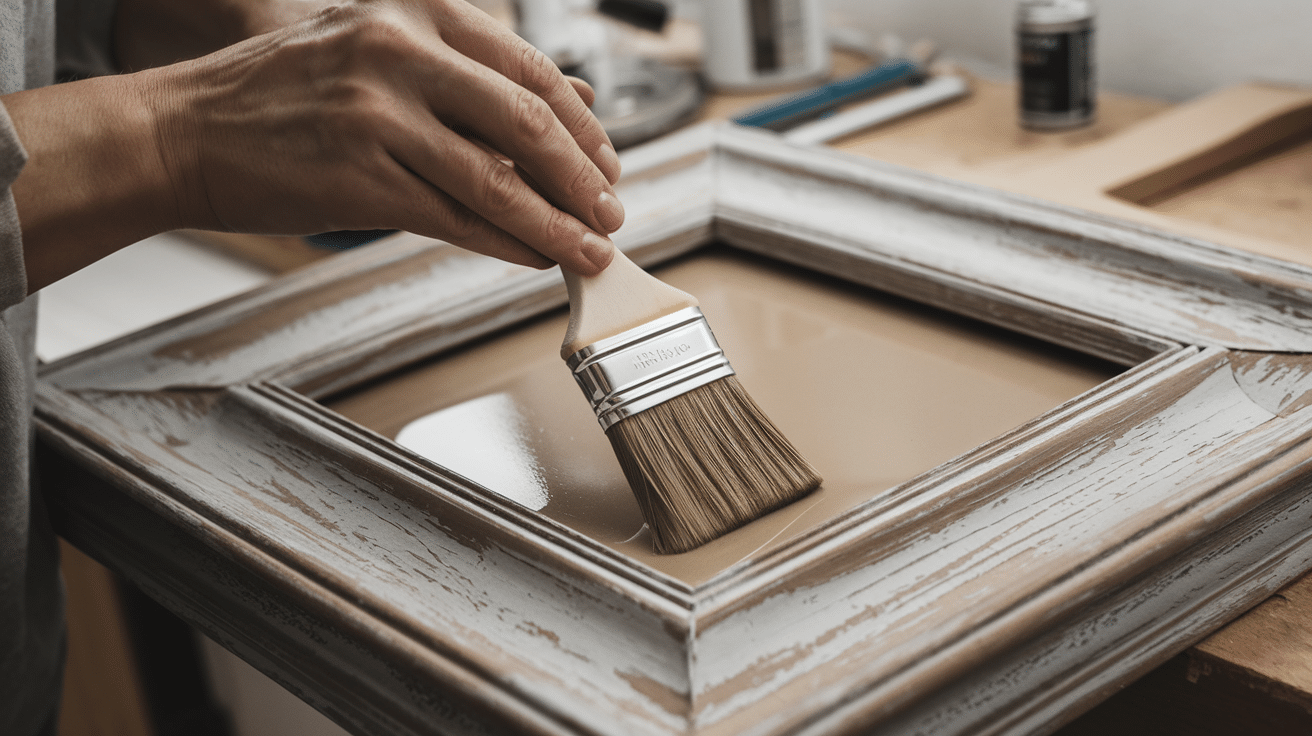
Step 2: Apply a Base Coat
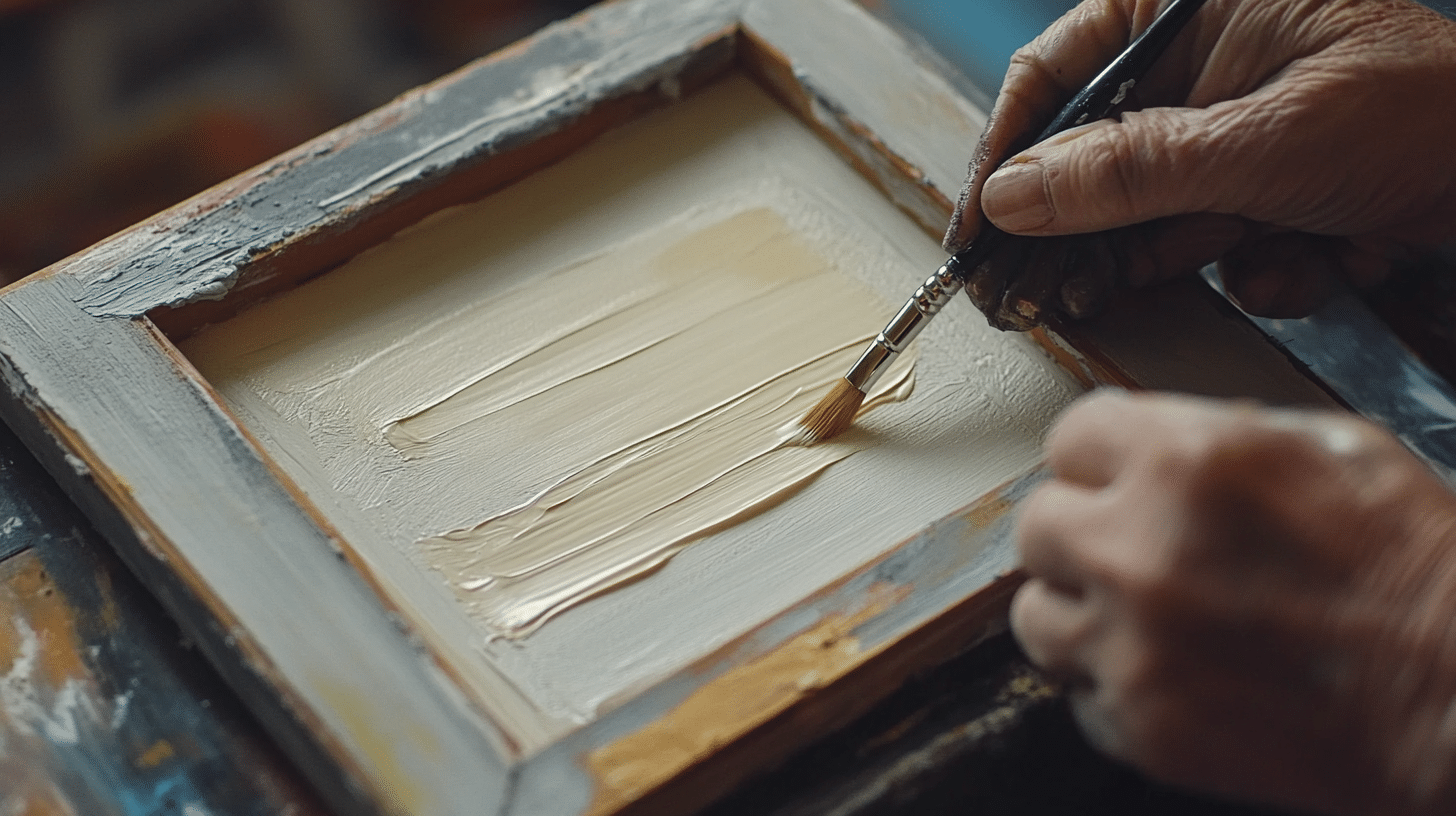
Choose a base color—typically a neutral or warm tone like white, beige, or soft gray. Using a small paintbrush or chip brush, apply an even coat of paint, making sure to cover all nooks and details. Let it dry completely. If needed, apply a second coat for full coverage.
Step 3: Distress the Surface
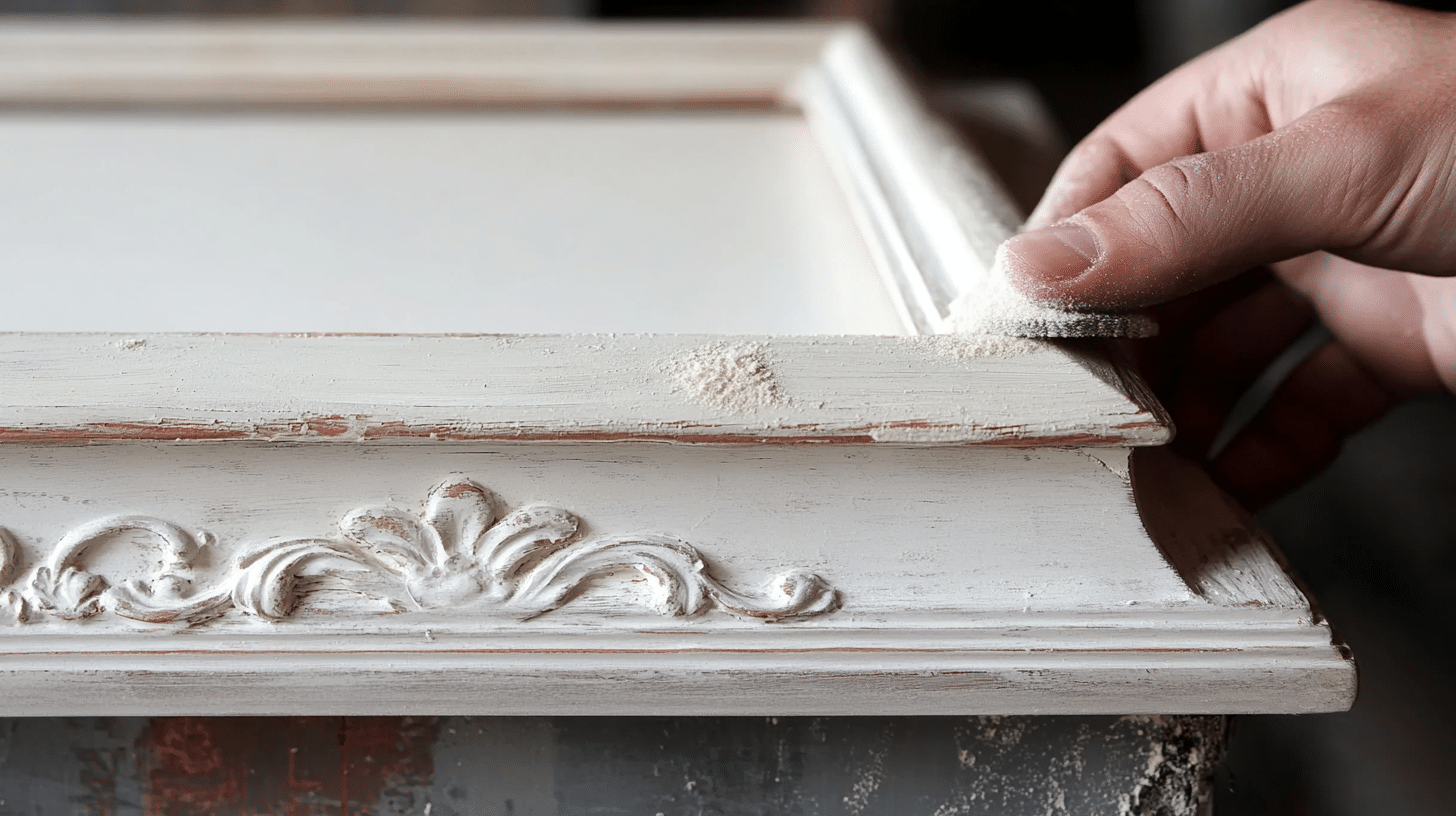
Now comes the fun part—giving your frame that charming, timeworn character!
Distressing mimics the natural wear and tear that occurs over decades, making your frame look authentically vintage. The key is to focus on areas where aging would naturally occur.
Follow these steps to achieve the perfect distressed effect:
Identify High-Wear Areas
Think about where a real antique frame would show signs of age. Typically, these are:
- Edges & Corners – These areas tend to get bumped and handled the most.
- Raised Details & Carvings – Accents tend to lose paint over time, revealing the base material underneath.
- Inner & Outer Borders – These parts often experience friction when moved or cleaned.
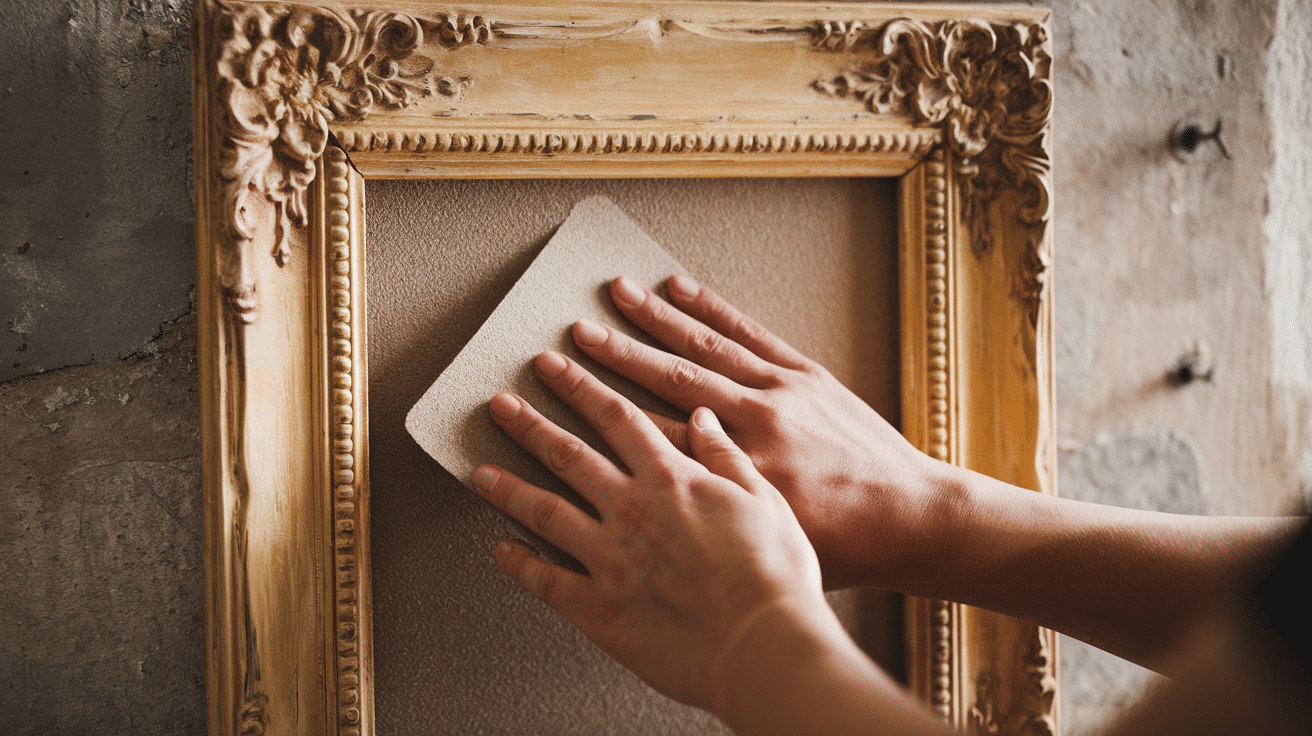
Light Sanding for a Subtle Aged Look
- Use medium-grit sandpaper (120-180 grit) and lightly rub over the raised areas.
- Focus on the edges, corners, and any decorative carvings.
- Gradually switch to fine-grit sandpaper (220 grit) to blend harsh lines.
- For a softer, natural fade, use a light touch and sand in circular motions.
For a More Dramatic Distressed Look
If you want a bolder antique effect:
- Use a craft knife or razor blade to gently scrape away sections of paint. This method creates a chipped, rustic feel.
- Try the wet-distressing technique: Before the base coat fully dries, wipe some paint away with a damp cloth or sponge. This leaves behind an uneven, aged effect.
- Tap areas lightly with a hammer or blunt tool to create tiny dents and dings, adding to the authentic aged look.
Blend for a Natural Finish
- Step back and assess the look—does it feel balanced? If any area looks too harsh, go over it with fine sandpaper to soften the transition.
- Wipe the entire frame with a tack cloth to remove dust before moving on to the antiquing stage.
By layering and refining these distressing techniques, you’ll create a frame that looks beautifully aged and full of history.
Step 4: Apply an Antiquing Layer
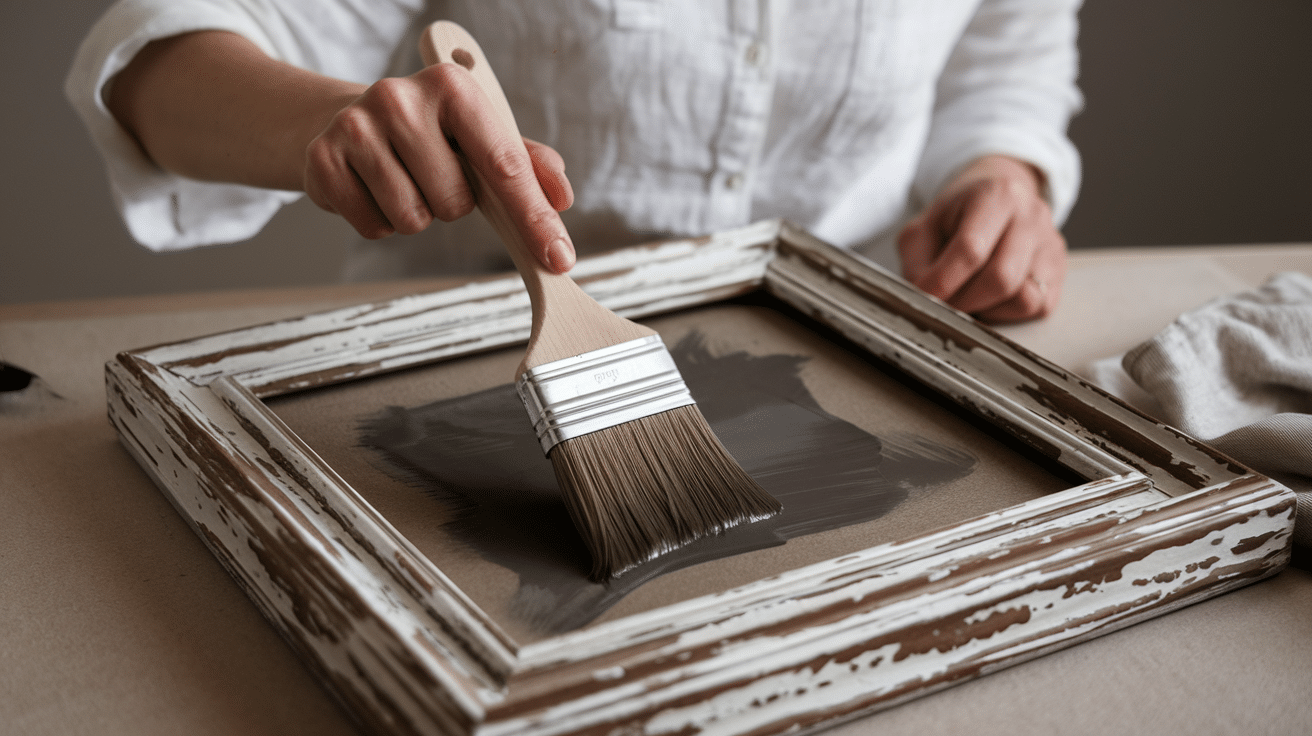
Use antiquing wax or mix brown/black paint with water to create a wash.
Apply it with a brush, then immediately wipe away excess with a soft cloth, allowing it to settle in grooves and details. This enhances the aged effect.
Step 5: Add Metallic Accents (Optional)

For an antique gilded effect, lightly dab metallic gold or silver paint on the raised details with a sponge or dry brush. Keep it subtle to maintain a naturally aged appearance.
Step 6: Seal the Finish
Once the paint and distressing are complete, sealing the frame ensures durability while maintaining its vintage charm.
Follow these steps for the best results:
Choose the Right Sealer
- Matte Finish – Best for an aged, natural look.
- Satin Finish – Adds a subtle sheen without looking too modern.
- Wax Sealer – Ideal for a soft, hand-rubbed finish.
Application Techniques
- Use a soft brush for liquid sealers, applying in thin, even strokes.
- For a spray sealer, hold the can 10-12 inches away and apply light coats.
- If using wax, rub it on with a lint-free cloth, then buff gently.
Let It Cure Properly
- Allow at least 24 hours for full drying.
- If using wax, buff again after drying to enhance the finish.
- Avoid touching or handling until fully cured to prevent smudges.
Step 7: Final Touches
If the finish looks too new, buff it lightly with fine-grit sandpaper or a soft cloth to soften harsh edges. Step back and admire your beautifully transformed vintage-style frame!
For a more detailed tutorial on how to paint a picture frame to make it look vintage, check out the video below:
Painting a Picture Frame: Tips for A Vintage Finish
I’ve found that creating that authentic vintage look is all about the right approach.
Here’s how I do it:
- Clean your frame with a damp cloth and let it dry fully.
- Use chalk paint for your base coat – it sticks well without primer.
- Apply thin layers with a small brush rather than one thick coat.
- Rub candle wax on edges and corners where natural wear occurs.
- Apply a contrasting top coat over the entire frame.
- Sand the waxed areas lightly to reveal the base color underneath.
- Focus on edges, corners, and high spots for natural-looking wear.
- Use 220-grit sandpaper for gentle distressing.
- Finish with clear wax or matte sealer to protect your work.
- Buff gently after the sealer dries for a soft sheen.
- Allow 24 hours for the finish to cure completely.
I finish with a protective coat of matte sealer. This step preserves my work while maintaining that lovely vintage character.
Common Mistakes in Vintage Frame Painting to Avoid
When creating vintage-style frames, I’ve learned what not to do through trial and error.
Here are the main pitfalls to watch for:
Rushing the Prep Work:
Not cleaning the frame properly and skipping light sanding on glossy surfaces.
Paint Application Issues:
- Using coats that are too thick
- Not allowing enough drying time between layers
- Using brushes that leave obvious stroke marks
Distressing Problems:
Over-sanding and removing too much paint, Distressing in random spots instead of where natural wear occurs
The biggest mistake I see is making vintage effects look too perfect. Real vintage items show uneven, natural aging. When distressing looks too planned or symmetrical, the frame loses that authentic aged feel.
Don’t forget the protective finish. A simple clear wax or sealer keeps everything intact.
Achieving a Vintage Picture Frame With Paint: Everything You Need to Know

Choosing the Right Paint for Picture Frames
Selecting the right paint for your vintage frame project gets easier with a few key considerations.
First, I consider the era I want to mimic. Early 1900s calls for muted earth tones, while mid-century styles use brighter colors.
I also think about the frame material. Wood takes most paints well, but metal might need special types. I always test a small spot first to check how the paint bonds.
I’ve tried many paints for my vintage frame projects, and these six consistently give me the best results:
Chalk Paint:
- Sticks to almost any surface with minimal prep
- Dries to a perfect matte finish that looks old right away
- Easy to distress with light sanding
Milk Paint:
- Creates an authentic, time-worn finish that can chip naturally
- Comes in powder form you mix with water
- Works well for very old-looking, rustic frames
Acrylic Paint:
- Dries quickly between coats
- Comes in countless colors for layering effects
- Good option when I need to match specific colors
Latex Paint:
- Water-based and low odor
- Can be thinned for wash effects
- Works well with wax resist techniques
Mineral Paint:
- Built-in topcoat makes for less work
- Very durable for frames that will be handled often
- Creates a smooth, subtle matte finish
Spray Paint:
- Quick and even coverage as a base coat
- Metallic options add subtle shine for ornate frames
- Good for textured frames with lots of details
My Top Paint Suggestions for A Vintage Look
1. Amherst Gray by Benjamin Moore
- LRV: 18.8
- Undertone: Subtle green
- Type of Color: A versatile dark gray
2. Perfect Greige by Sherwin Williams
- LRV: 40.25
- Undertone: Red
- Type of Color: Creamy mid-tone gray
3. French Linen by Annie Sloan
- LRV: 40
- Undertone: Greige
- Type of Color: Cool neutral khaki gray
4. Raging Sea by Sherwin Williams
- LRV: 14
- Undertone: Green
- Type of Color: Cool-toned Blue-Green
5. Mayflower Red by Benjamin Moore
- LRV: 17.37
- Undertone: Orange, Brown
- Type of Color: Red
6. Vintage Charm by Benjamin Moore
- LRV: 18.08
- Undertone: Subtle Red
- Type of Color: Muted, dusty purple
Wrapping It Up!
So now you know how to create your own vintage picture frames with the right paints and techniques. This skill lets you add personal touches to your home decor without spending a fortune on store-bought frames.
Remember to choose paints that match your desired era, prepare your surfaces properly, and embrace imperfections for that authentic vintage feel. The worn edges and subtle color variations are what give your frames character.
What’s your next step? Try painting a simple frame this weekend using the techniques we covered. Take before and after photos to see your progress. Or browse thrift stores for unique frames to transform with your new skills.
I’d love to see what you create. Share your vintage frame projects in the comments section below.