Hey there, can I let you in on a little secret? I've found out the most luxurious DIY skincare hack that's been flying under the radar. This whipped sugar scrub soap recipe is seriously game-changing, and I couldn't keep it to myself any longer. Between us, commercial scrubs are often packed with ingredients you can't …

Hey there, can I let you in on a little secret? I’ve found out the most luxurious DIY skincare hack that’s been flying under the radar.
This whipped sugar scrub soap recipe is seriously game-changing, and I couldn’t keep it to myself any longer.
Between us, commercial scrubs are often packed with ingredients you can’t pronounce and cost way too much. But this homemade version? It’s pure magic for changing rough, dull skin into the soft, glowing complexion you’ve been dreaming about.
And the best part? You already have most of these ingredients in your kitchen.
So grab your mixing bowl because I’m about to share the recipe that my friends have been begging for. Trust me, your skin will thank you.
Why Use a Whipped Sugar Scrub Soap?
A whipped sugar scrub soap is more than just a skincare treat—it’s a two-in-one powerhouse that exfoliates while cleansing, leaving your skin irresistibly soft and hydrated.
Here’s why it deserves a spot in your self-care routine.
1. Exfoliation & Hydration in One
Traditional sugar scrubs can sometimes feel too oily, while regular soap can leave skin dry.
A whipped sugar scrub soap bridges the gap by gently sloughing off dead skin cells while locking in moisture.
The result? Smooth, refreshed, and glowing skin without feeling greasy.
2. Luxuriously Light & Airy Texture
Unlike dense scrubs that can feel heavy or sticky, a whipped scrub is soft, fluffy, and easy to apply.
The whipped consistency spreads effortlessly across the skin, making exfoliation feel like a pampering experience rather than a chore.
3. Gentle Yet Effective Cleansing
Since this scrub contains cleansing agents (or soap-infused ingredients), it removes dirt, sweat, and excess oil while exfoliating.
This means you can skip the extra body wash and still feel fresh and clean.
4. Customizable for Your Skin Type
- Dry Skin? Use moisturizing butter like mango or shea and oils like avocado or almond.
- Oily Skin? Opt for lighter oils like grapeseed or jojoba and add a clarifying essential oil like tea tree.
- Sensitive Skin? Keep it mild with fine sugar and gentle oils like chamomile or calendula-infused oil.
5. Cost-Effective & Easy to Make at Home
A store-bought sugar scrub can be pricey, but making your own allows you to control the ingredients and tailor it to your skin’s needs.
Plus, most of the ingredients—sugar, oils, and essential oils—are likely already in your kitchen!
6. Year-Round Skincare Must-Have
- In summer, it helps remove sunscreen buildup and keeps skin fresh.
- In winter, it combats dryness and flakiness by deeply nourishing the skin.
7. A Spa-Like Experience at Home
With the right essential oils and colors, your scrub can mimic high-end spa products.
Whether you want a relaxing lavender scent or a refreshing citrus boost, this scrub lets you indulge in luxury without leaving your bathroom.
How Is Whipped Sugar Scrub Soap Different from Other Scrubs and Soaps?
| Feature | Whipped Sugar Scrub Soap | Traditional Sugar Scrub | Regular Soap Bar | Foaming Sugar Scrub |
|---|---|---|---|---|
| Texture | Light, fluffy, and airy | Thick and grainy | Solid and dense | Soft, semi-fluffy |
| Exfoliation | Yes, gentle exfoliation | Yes, strong exfoliation | No, does not exfoliate | Yes, moderate exfoliation |
| Cleansing Power | Yes, contains soap for cleansing | No, primarily exfoliates | Yes, cleanses skin | May or may not contain actual soap |
| Residue After Use | Non-greasy, rinses clean | Leaves an oily residue | Leaves skin clean but can be drying | May leave a light residue |
| Customization | Highly customizable (scents, colors, oils) | Customizable but mainly oil-based | Limited customization (mainly scent) | Customizable but often premade bases |
| Lathering Ability | Produces a foamy lather | No lather, just scrubbing action | Some lather but not exfoliating | Some foaming but less than whipped scrub |
DIY Whipped Sugar Scrub Soap Recipe: My Top Recommendation
This DIY whipped sugar scrub soap is a luxurious and exfoliating treat for your skin. Mix sugar with coconut oil, shea butter, and a touch of your favorite essential oil.
Whip it all together until light and fluffy, then store it in an airtight container. This scrub gently exfoliates while moisturizing, leaving your skin soft and refreshed.
It’s an easy, indulgent recipe perfect for pampering yourself or giving as a gift!
Tools and Materials Required
| Tools | Materials |
|---|---|
| Heat-safe bowl/container | Mango butter |
| Saucepan or double boiler | Coconut oil |
| Spatula | Avocado oil |
| Hand mixer or stick blender | Granulated sugar |
| Measuring spoons/cups | Essential oil (e.g., rosewood) |
| 8-ounce jar with lid | Cosmetic-grade colorant (optional) |
Step-by-Step Recipe for Whipped Sugar Scrub Soap
Melt the Butter and Oils
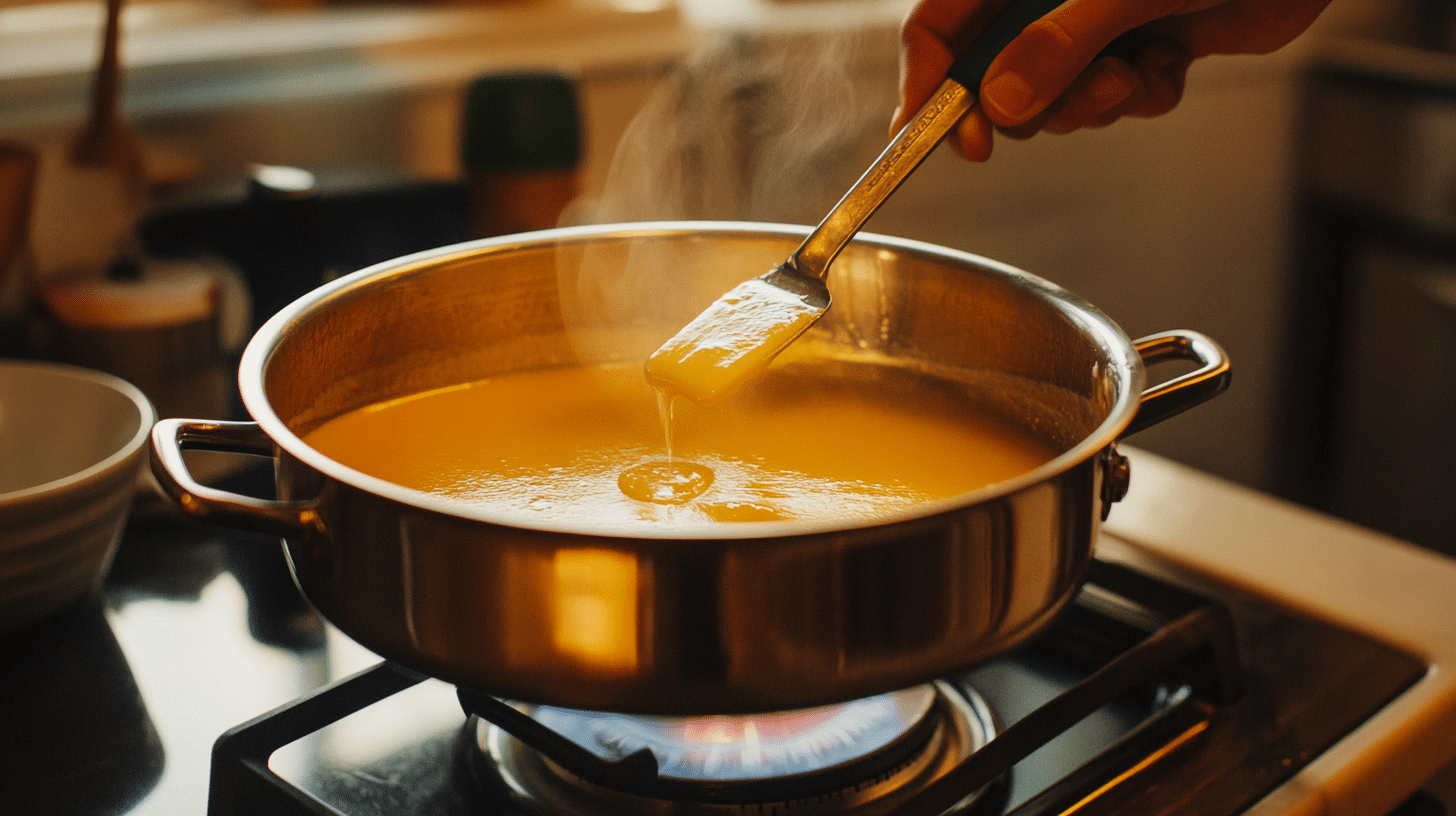
Begin by heating water in a saucepan or double boiler. Place a heat-safe bowl over the warm water and add mango butter and coconut oil.
Allow them to melt gently, stirring occasionally with a spatula to prevent overheating. Once melted, add the measured avocado oil and mix well.
Cool and Whip for a Creamy Base
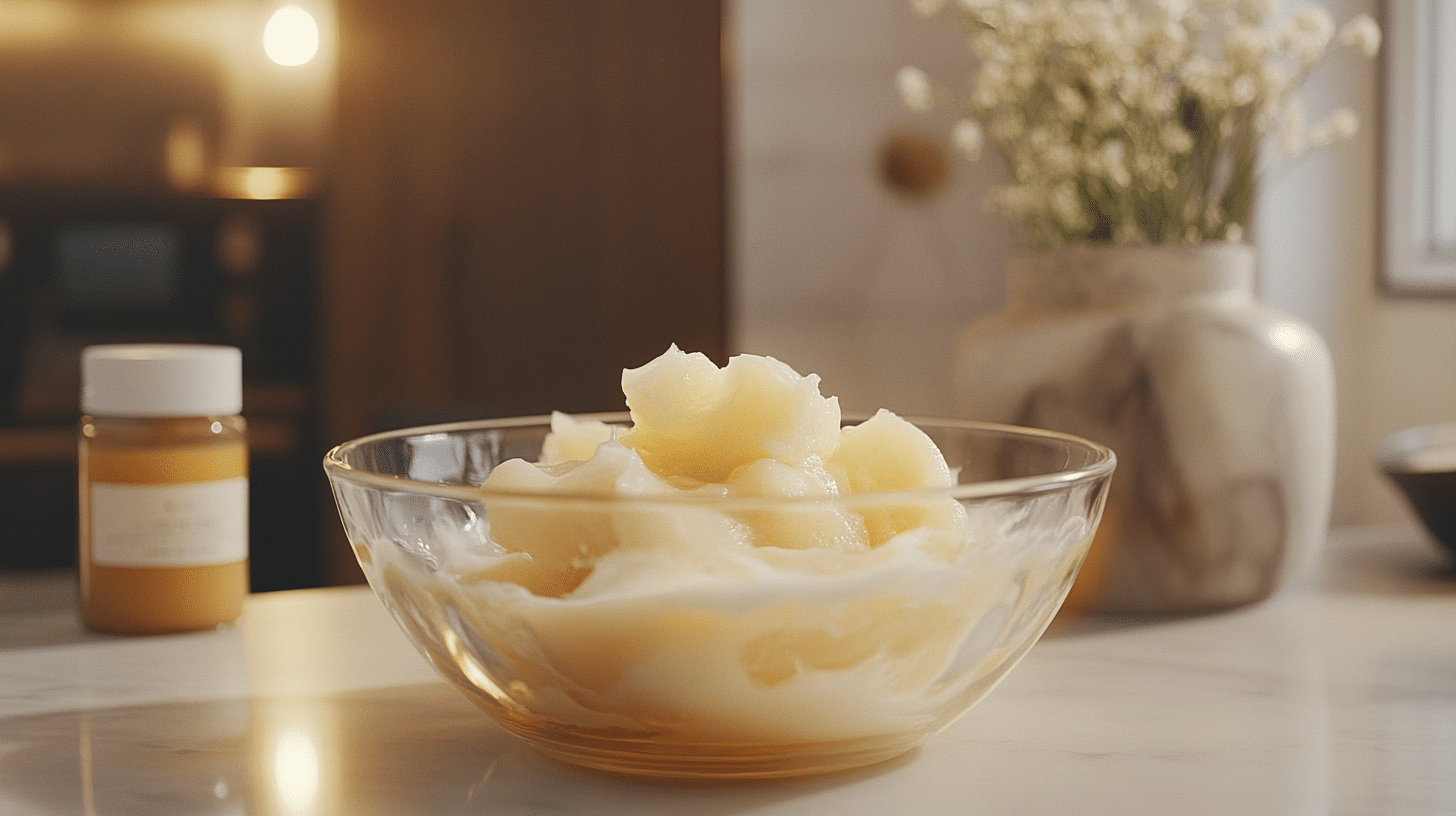
Remove the melted mixture from heat and let it cool slightly. To speed up thickening, place the bowl in the fridge for about 15 minutes, ensuring it firms up but doesn’t harden completely.
Using a hand mixer or stick blender, whip the mixture on medium speed until it turns fluffy and light.
Incorporate the Sugar for Gentle Exfoliation
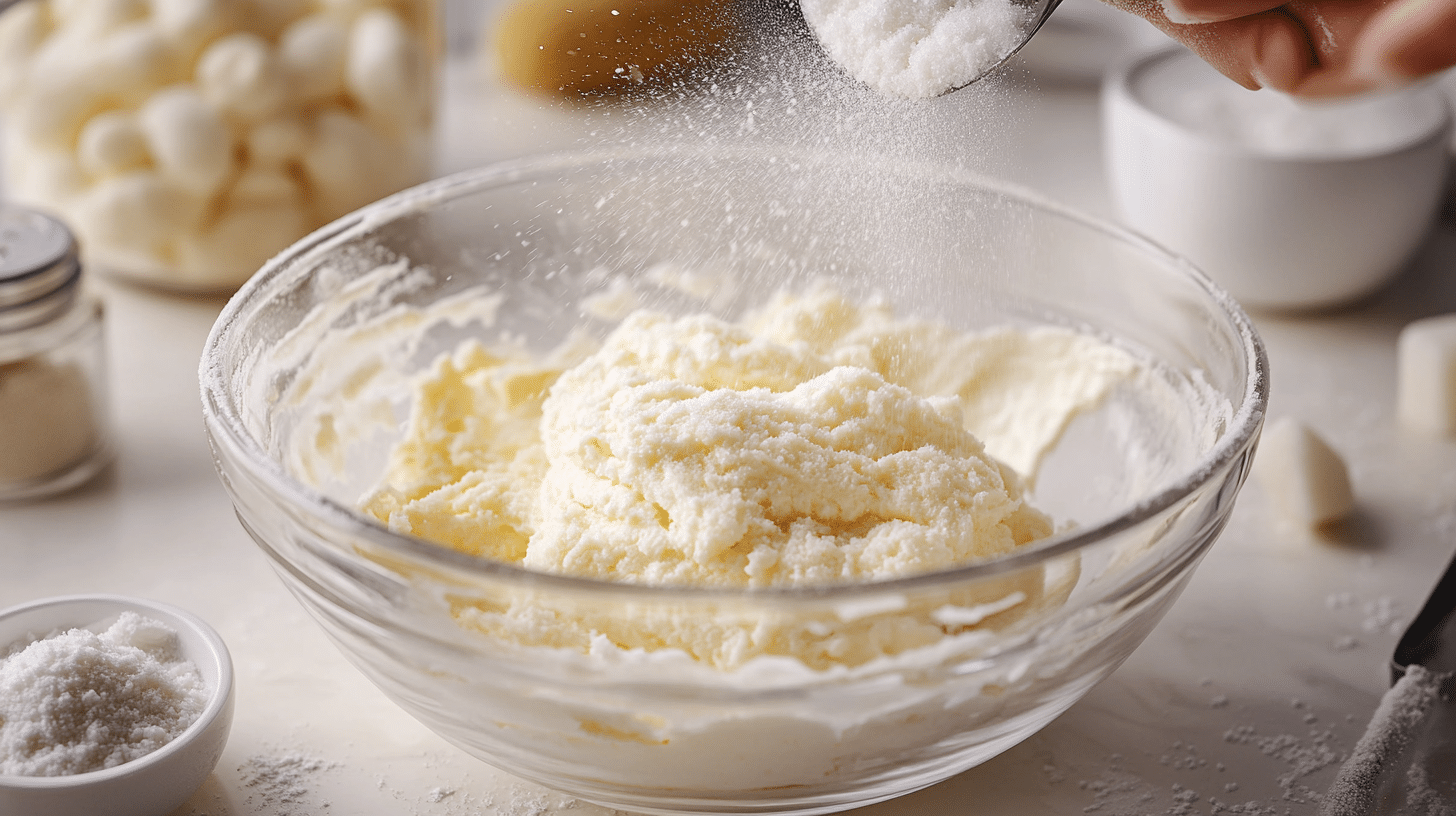
Gradually add granulated sugar, a little at a time, while continuously mixing.
Adjust the amount based on your preferred exfoliation level. Add more for a deeper scrub or less for a softer texture. Continue whipping until the sugar is fully blended into the creamy base.
Add Fragrance for a Luxurious Scent
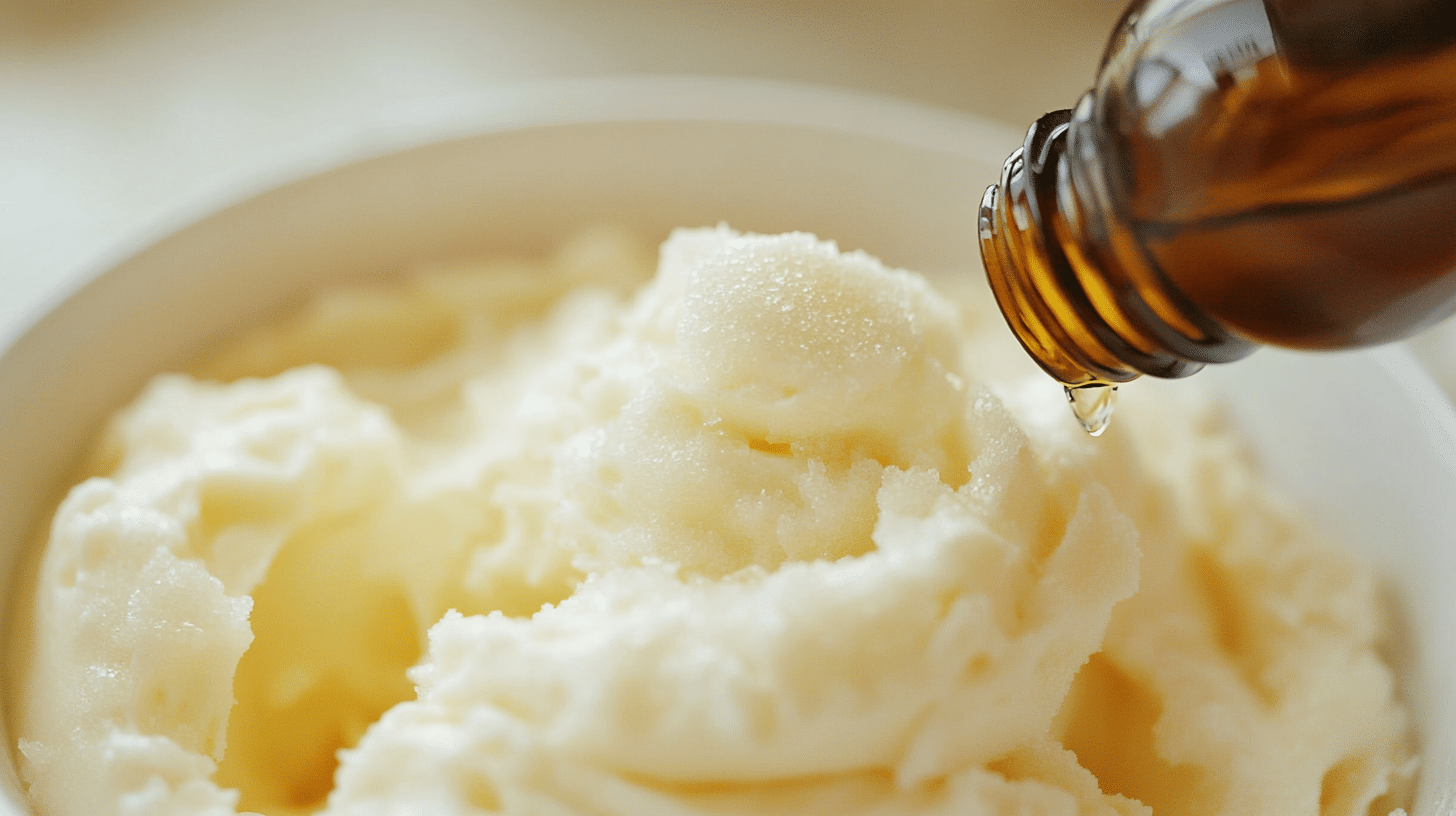
Once you’re happy with the texture, stir in a few drops of your favorite essential oil. Rosewood essential oil is a great choice, offering a soothing, slightly floral aroma. Mix well to distribute the scent evenly.
I have provided a table of essential oils and their benefits that you can try in your whipped sugar scrub soap recipe according to your needs.
| Essential Oil | Benefit | Great For |
|---|---|---|
| Lavender | Calming, soothing, gentle on the skin | All skin types, relaxation |
| Tea Tree | Antibacterial, clears acne | Oily/acne-prone skin |
| Peppermint | Cooling, refreshing, energizing | Morning showers, hot weather |
| Lemongrass | Uplifting, deodorizing | Oily skin, summer soaps |
| Sweet Orange | Bright, cheerful, lightly cleansing | Dry skin, mood-boosting |
| Rosemary | Clarifying, invigorating scent | Normal to oily skin |
| Chamomile | Gentle, reduces irritation | Sensitive or dry skin |
| Cedarwood | Earthy, calming, balanced oil | Men’s soaps, oily skin |
Incorporate Color for a Beautiful Finish (Optional)
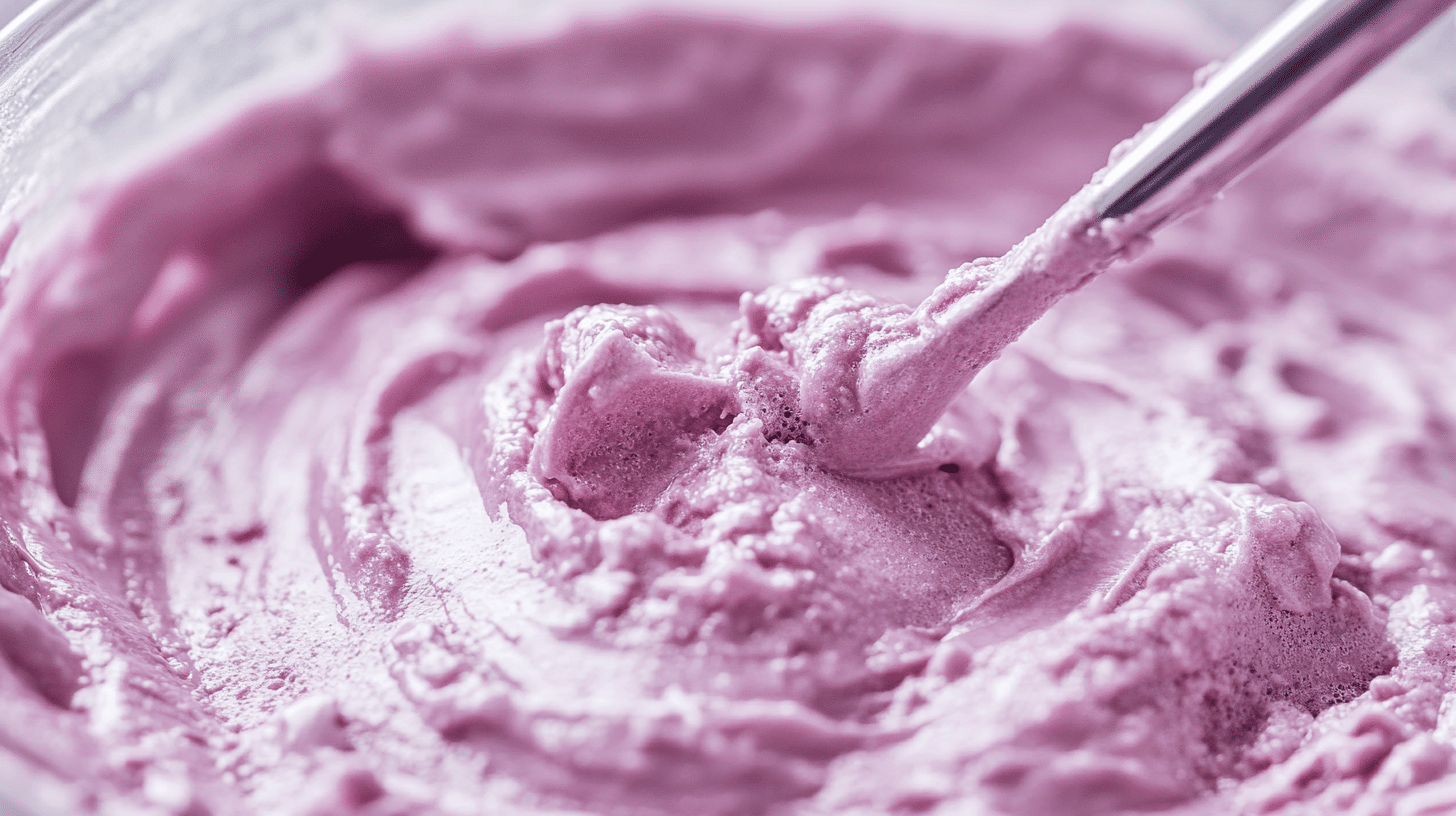
If you’d like a touch of color, add a small amount of cosmetic-grade colorant. Use a stick blender on a low setting or mix gently by hand to blend the color evenly.
Add gradually to achieve your desired shade, ensuring you don’t overdo it.
Check and Adjust the Final Consistency
Give your scrub a final mix, ensuring it’s whipped to perfection—light, airy, and easy to scoop. If necessary, tweak the texture by adding a little more sugar or oil until it feels just right on your skin.
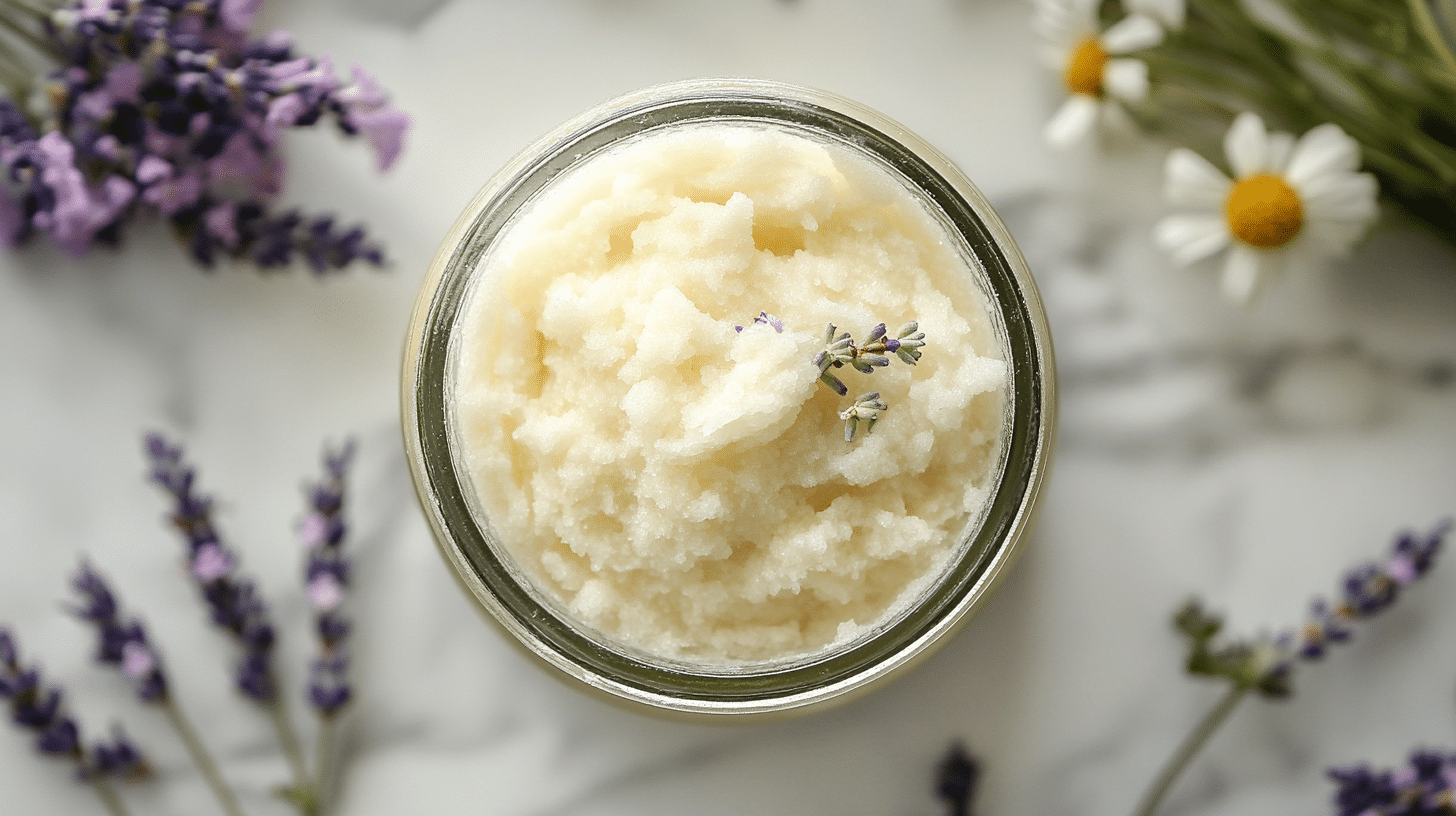
Store and Enjoy Your Handmade Scrub
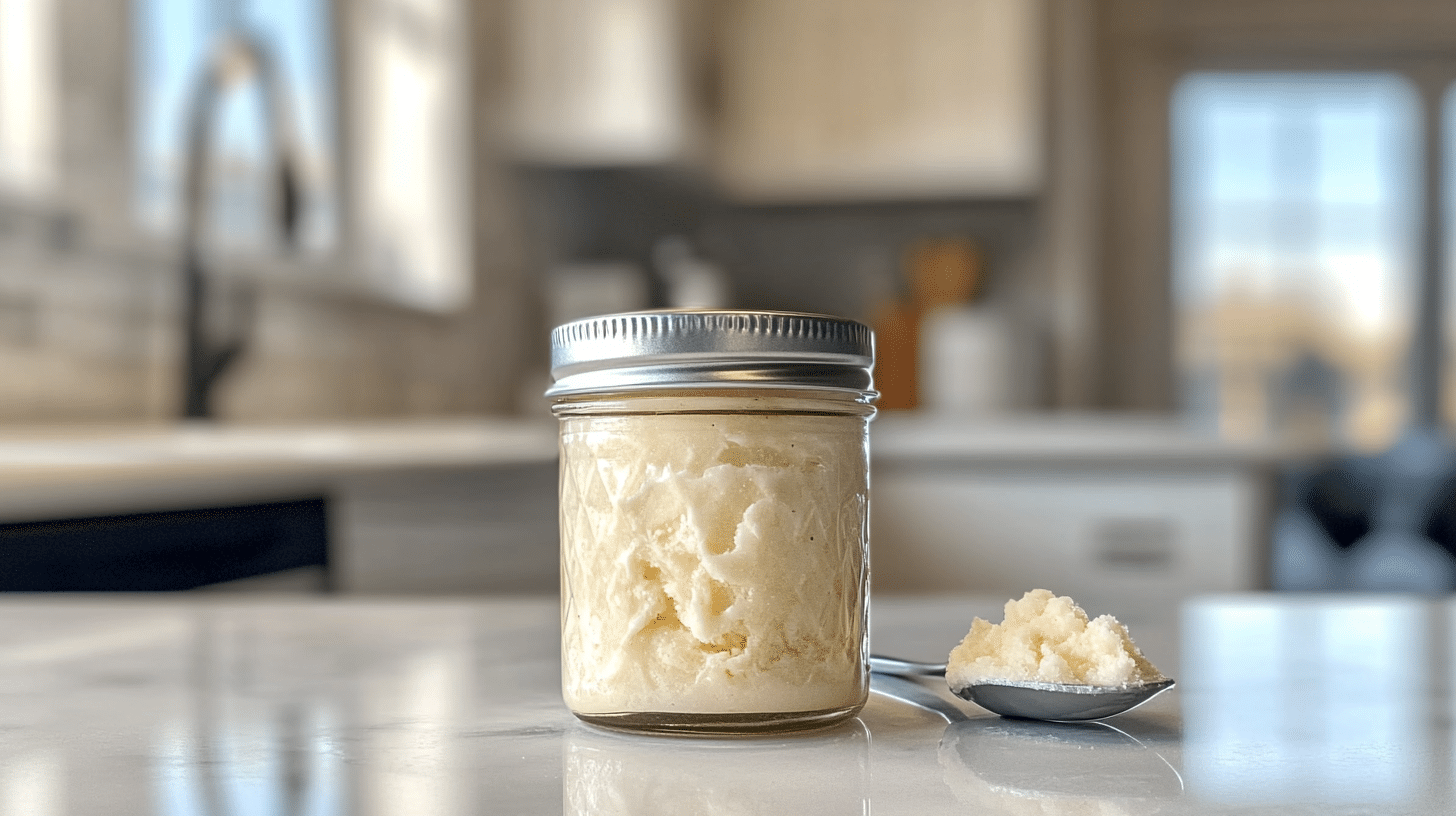
Transfer the finished scrub into a clean, dry 8-ounce jar. Seal tightly and store in a cool, dry place. To use, scoop out a small amount, massage onto damp skin in circular motions, and rinse for a soft, glowing feel.
Keep these storing tips in mind for longer and more effective use of your soap:
- Choose the right container – Use glass jars with tight-fitting lids to keep moisture out and prevent the oils from reacting with plastic.
- Keep away from heat and moisture – Store in a cool, dry place away from direct sunlight and shower areas to maintain the whipped texture and prevent mold growth.
- Label with date and use promptly – Mark when you made the scrub and use within 2-3 months, as homemade scrubs without preservatives have a shorter shelf life than commercial products.
For a more detailed explanation of the whipped sugar scrub soap recipe, check out the video given below:
Tips for the Best DIY Whipped Sugar Scrub Soap
- Temperature matters – Allow your soap base to cool slightly after melting, but work with it while still warm enough to be pliable. If it cools too much, you’ll struggle to get a fluffy texture.
- Don’t rush the whipping process – Spend at least 3-5 minutes whipping your soap base for maximum fluffiness. It should roughly double in volume.
- Add sugar last – Fold in your sugar after all other ingredients to prevent it from dissolving in the warm soap mixture.
- Use fine grain sugar for a gentler scrub – Especially for facial applications or sensitive skin. Save coarser sugar for body scrubs.
- Prevent melting – Add a small amount of corn starch (about 1 teaspoon per cup of base) to help your scrub maintain its whipped texture in warm environments.
- Avoid water contamination – Use a dry scoop or spoon when retrieving products from containers to prevent introducing water, which can lead to mold growth.
- Mix complementary fragrances – Try combinations like lavender with vanilla, or citrus with mint instead of using single scents.
- Make small batches – Since homemade scrubs lack commercial preservatives, smaller batches ensure freshness.
- Test on a small skin area first – Especially if you have sensitive skin or are using new essential oils.
- Work quickly after whipping – The mixture will begin to set quickly, so have your containers ready to go before you start.
How to Use Whipped Sugar Scrub Soap
Using whipped sugar scrub soap is simple and can elevate your skincare routine. Here’s how to get the best results:
1. Wet Your Skin
- Start by dampening your skin with warm water to soften it and prepare it for exfoliation.
- This step helps the scrub glide smoothly and lather effectively.
2. Scoop a Small Amount
- A little goes a long way! Use a spoon or clean fingers to scoop out a small amount of the whipped scrub.
- Avoid introducing water into the jar to prevent bacterial growth.
3. Massage Gently
- Apply the scrub to your skin in circular motions.
- Focus on areas prone to dryness, like elbows, knees, and feet.
- Be gentle on sensitive areas to avoid irritation.
4. Let It Lather and Cleanse
- Unlike traditional scrubs, this one will create a light, foamy lather.
- Enjoy the dual action of cleansing and exfoliating at the same time.
5. Rinse Thoroughly
- Use warm water to rinse off the suds completely.
- Pat your skin dry with a towel instead of rubbing to retain moisture.
6. Follow Up with Moisturizer
- For extra hydration, apply a lightweight moisturizer or body oil after using the scrub.
- This helps lock in moisture and keep your skin feeling silky smooth.
7. Use 2-3 Times a Week
- To avoid over-exfoliation, use whipped sugar scrub soap two to three times a week.
- Adjust based on your skin type—less frequent for sensitive skin, more for rough patches.
The Bottom Line
So there you have it, your ticket to incredibly soft, smooth skin without breaking the bank. This whipped sugar scrub soap recipe isn’t just another beauty product recipe; it’s a small act of self-care you can easily fit into your routine.
Remember, consistency is key with any skincare regimen. Use this scrub 2-3 times weekly for best results, and don’t forget to moisturize afterward to lock in all that goodness.
What I love most about this recipe is how easily you can customize it. Switch up the oils, play with different scents, or adjust the sugar ratio to suit your skin’s unique needs.
Go ahead—give your skin the homemade luxury treatment it deserves. Your softer, glowing complexion will thank you.